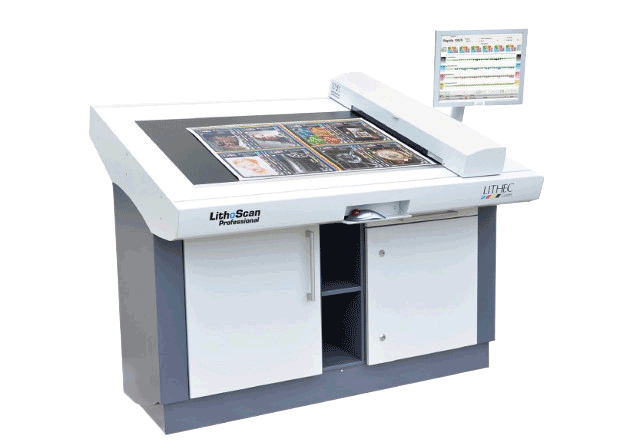
LithoScan® Professional is the best selling spectral 2D measurement system. As Densitronic Professional,it has been installed over 1400 times worldwide. High measurement accuracy, optimum correction values and clear operation are its main features. The measuring table latest generation contains a high-speed measuring head for fast Lab-Scan and the new long-life LED lighting with M1 option as standard.
LithoScan Professional System
LithoScan® Professional is the world’s best selling spectral 2D measurement system. It is being trusted every day by printers around the globe.
Application Areas:
- For sheet-fed offset printing machines from all systems
- Available in 3 table formats for machines with sheet width of 780-2,200 mm
- Control of up to four printing machines via Multi-Interface
- Measurement and control of spectral, Lab and density values as well as grey balance on Lab-Basis
Customer Benefits:
- Non-contact measurement in print control strips or in the image
- Various strategies for optimal color and density control
- Standardisation according to PSO or company standards
- Customisable quality logs
- Reduction of quality costs
- Low service and maintenance costs
Product Features
Densitronic Professional / LithoScan Professional:
With its features the LithoScan Professional helps to maintain quality and builds a bridge between pre press and printing press.
In addition the printer can check whether pre press supplied plates with correct curves.
The system is sold by KBA named “Densitronic S”, respectively “Densitronic professional”, as well as by manroland as “LithoScan Professional”.
Measurement in the Sujet
Pre press and press – both essentially determine the quality of the printed product. The used measurement techniques however is different: Colormetric in pre press, densitometry in the press room. Therefore even with the most modern printing presses and pre press equipment there are problems at the color adjustment. Thus the consequence is:
Colormetrical and densitometrical measurements with one system
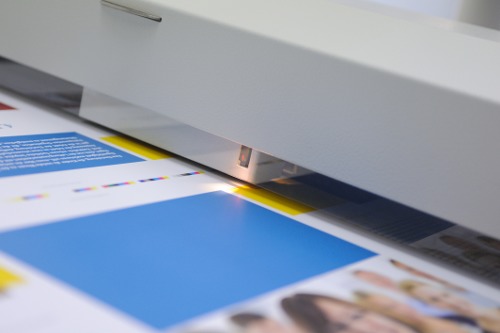
Densitometry is fast, well known and has a drect relationship with ink layer thickness. Colormetry provides exact and reproducable values. Therefore the advantages of both measurement techniques were combined in a combination sensor, which reaches all measurement spots on the sheet.
High Print Run Stability
LithoScan Professional has advantages especially for long running jobs. The measurement is independant from the printer’s fatigue or changes in surrounding illumination. LithoScan Professional immideatly calculates the necessary corrections by comparing the measured data against the references.
The corrections will be transferred to the press console in less than a second and can be confirmed by the operator. The system will not replace the operator, but allows him to concentrate more on press operating related issues.
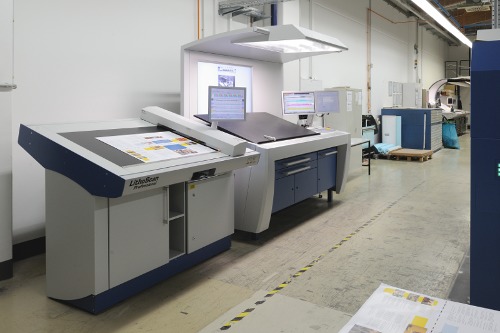
Options for the LithoScan® Professional System


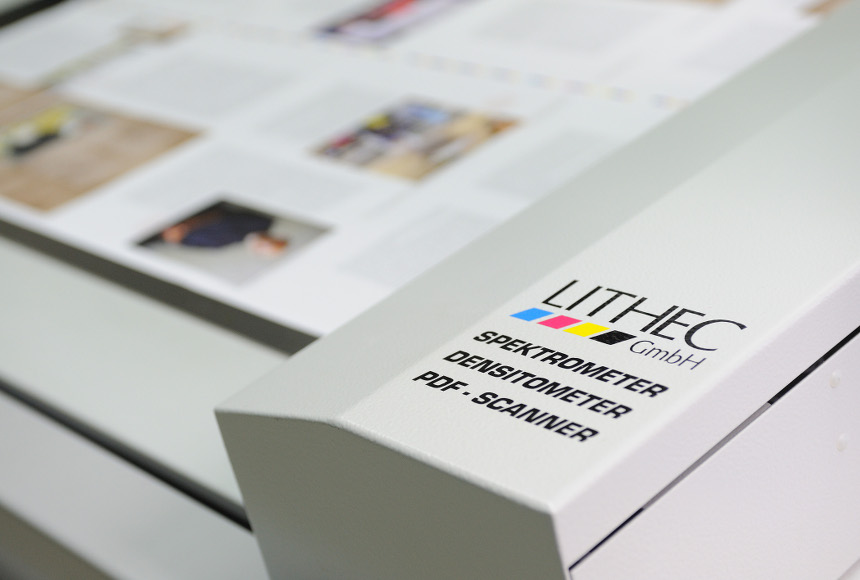
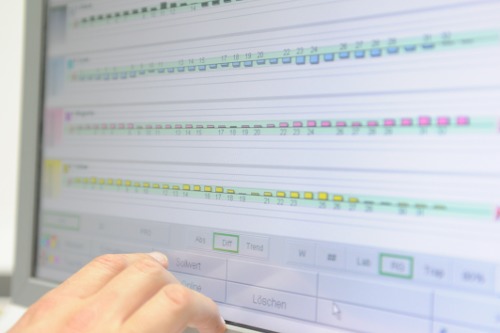
User Interface and Software
For job creation a keyboard and a trackball is used. Measurement and display features will be activated either by trackball or keys on a quick access keyboard. The software is developed in cooperation with large printing companies and therefore proven in real world use.
The job creation data consists of press data, color data, references, tolerances and teachin. The graphical user interface supports inputting these data by selection lists and other features.
An additional advance: Data like job number, job name, order of colors and so on can be obtained from the press via network.
Display of Measured Values
Once the job is created, the measurement can be started. There are various possibilities to display the results. The most Dataview with measured values used variant is the zonal, inking unit related display of the density respectively color deviation. There are also displays for dot gain curves, Lab graphics and more available.
If the automatic control is activated, after evere measurement a correction is sent to the press console. This can be checked by the operator and confirmed after it. To calculate the correction standard densities (same density for each zone), reference sheets or a mixture of both may be used.
All results will be logged. The log consists of every single measurement with date, time, shhet counter, used reference (reference sheet or standard density), comment and a statistic analysis for the whole run. The “LithoScan Professional” quality log is usable for an internal quality management or to forward it to customers.
Measurement data and teachins are handled as ASCII files. This guarantees well defined interfaces via floppy disk, USB or network to other departments in your facilities.
NEED MORE INFORMATION?
To request more information or a demo, feel free to reach out!
